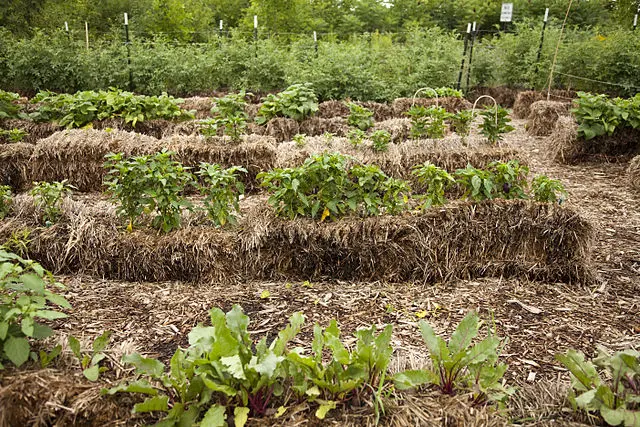
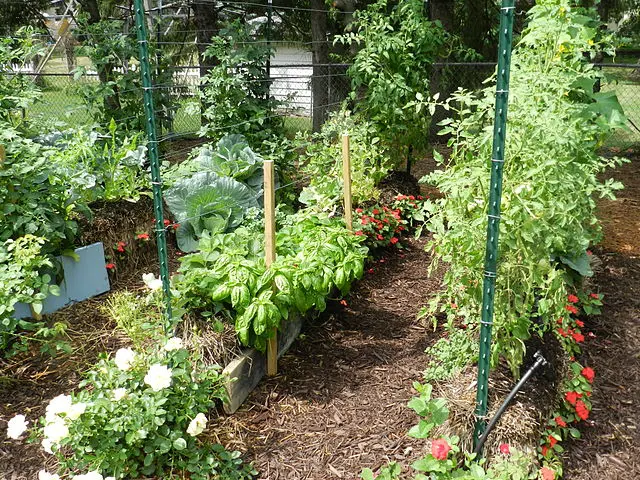
Straw bale gardening – using a bale of straw as a raised vegetable bed

Straw Bale Gardening: A Simple, Sustainable Alternative
Several years ago, I took an organic gardening class through Seattle Tilth, where our instructors introduced us to an unconventional yet effective gardening method: straw bale gardening. Instead of building a traditional raised bed, you use a bale of straw as the growing medium—perfect if you have poor soil or even no soil at all, like a concrete patio.
The process is surprisingly simple. Scratch the top of the bale, add a few inches of compost or potting soil, plant your seeds, and keep it watered—ideally with a drip irrigation setup. The bales act as natural planters, and over time they decompose, enriching your garden. After one or two growing seasons, the used bales can go straight into your compost pile.

The New York Times recently revisited this method in an article featuring Joel Karsten, author of Straw Bale Gardens. While it may sound like a new trend, the practice dates back to commercial growers in the 1950s–1980s and was common in Eastern Europe and the Middle East. Local horticulturist Linda Chalker-Scott of Washington State University Extension called straw bale gardening a smart, low-cost technique that mimics natural processes. “This is one of those practices that disappeared for no good reason,” she noted.
So, how does it work? Straw bales—preferably weed-free and not hay, which often contains weed seeds—create a raised bed about two to three feet tall. They’re easy on the back and accessible for people with limited mobility. At around $15 per bale, it can be a more affordable option than building raised beds—and you can move them season to season.
Before planting, you’ll need to “condition” the bales over 1–2 weeks by keeping them moist, adding fertilizer, and letting them heat up and cool down as they start to decompose. The slow breakdown releases heat and nutrients that help kickstart your plants, especially in cooler Northwest climates.
Tilth Alliance often features a straw bale garden at its demonstration site at the Good Shepherd Center in Wallingford—worth a visit if you’re curious to see one in action. Here’s another fact sheet on straw bale gardens.
